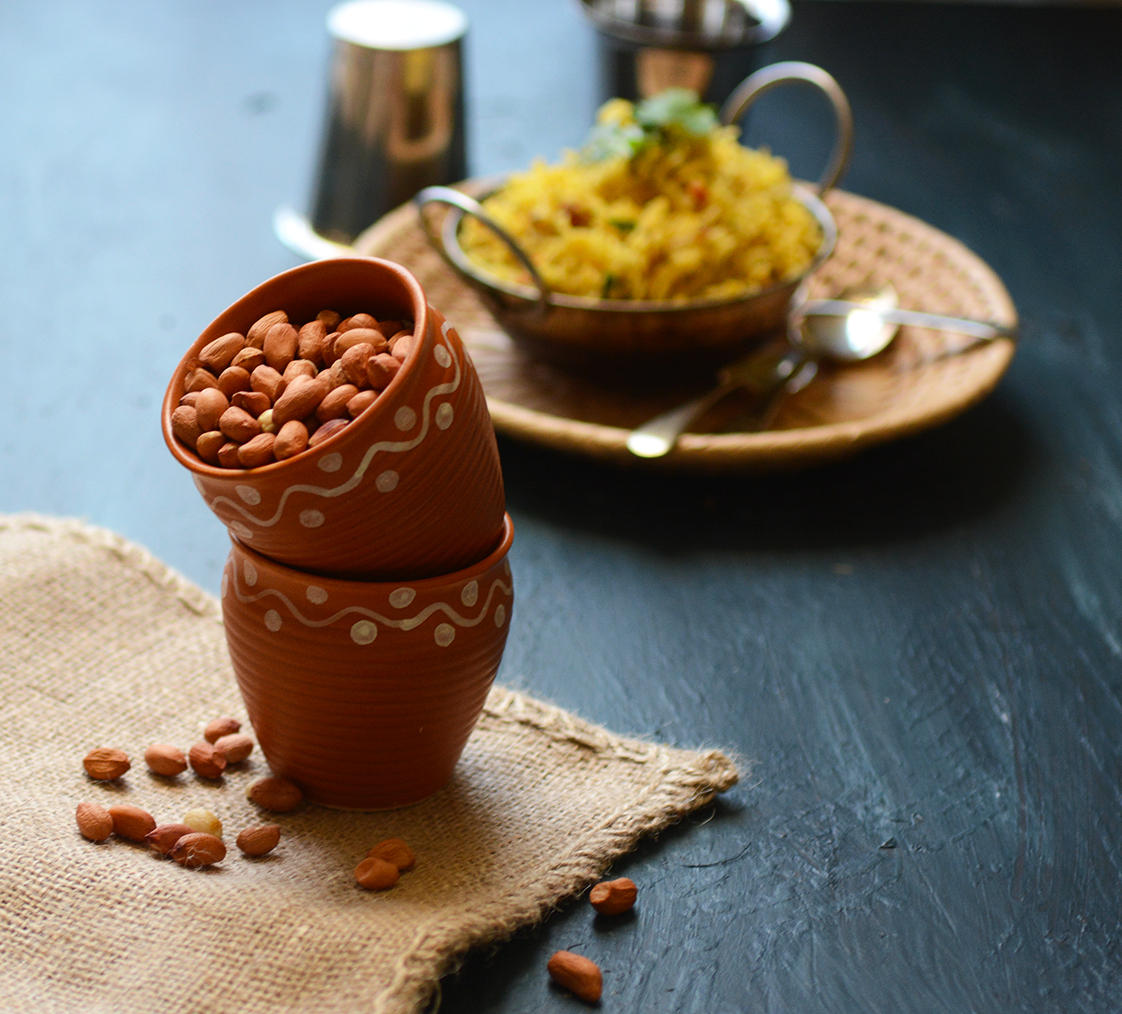
It’s been an indulgent couple of months largely owing to a cavalcade of Hindu festivals. Starting with Ganesh Chathurthi, then Navrathri and the ultimate excuse for overeating, Diwali. Dotted between them were birthdays, dinners out, a trip to a food bloggers conference where of course there was no shortage of incredible food, and Halloween. In the middle of it all, I’ve found myself actually craving greens. The timing couldn’t be better when I was sent the latest cookbook by accomplished chef and author Annabel Langbein, titled Through the Seasons (ABC Books) after her TV series.

As the title suggests, this is a collection of fresh, delicious ways to use seasonal produce, real food at its best. It is divided by the seasons with each section progressing from starters and salads, to mains and sides, ending as all good things should, with desserts. There are also useful ‘how to’s’ such as making yoghurt and growing things from seed. After my few months of excess, I for one have my eye on the Beachside Ceviche, Cucumber Salad with Dan’s Secret Sauce and the Baked Eggplant with Kasundi. My sweet tooth won’t be able to resist trying the Chocolate Orange creams and Mexican Hot Chocolate. The recipes are complimented by stunning photography that creates the mood for each season.
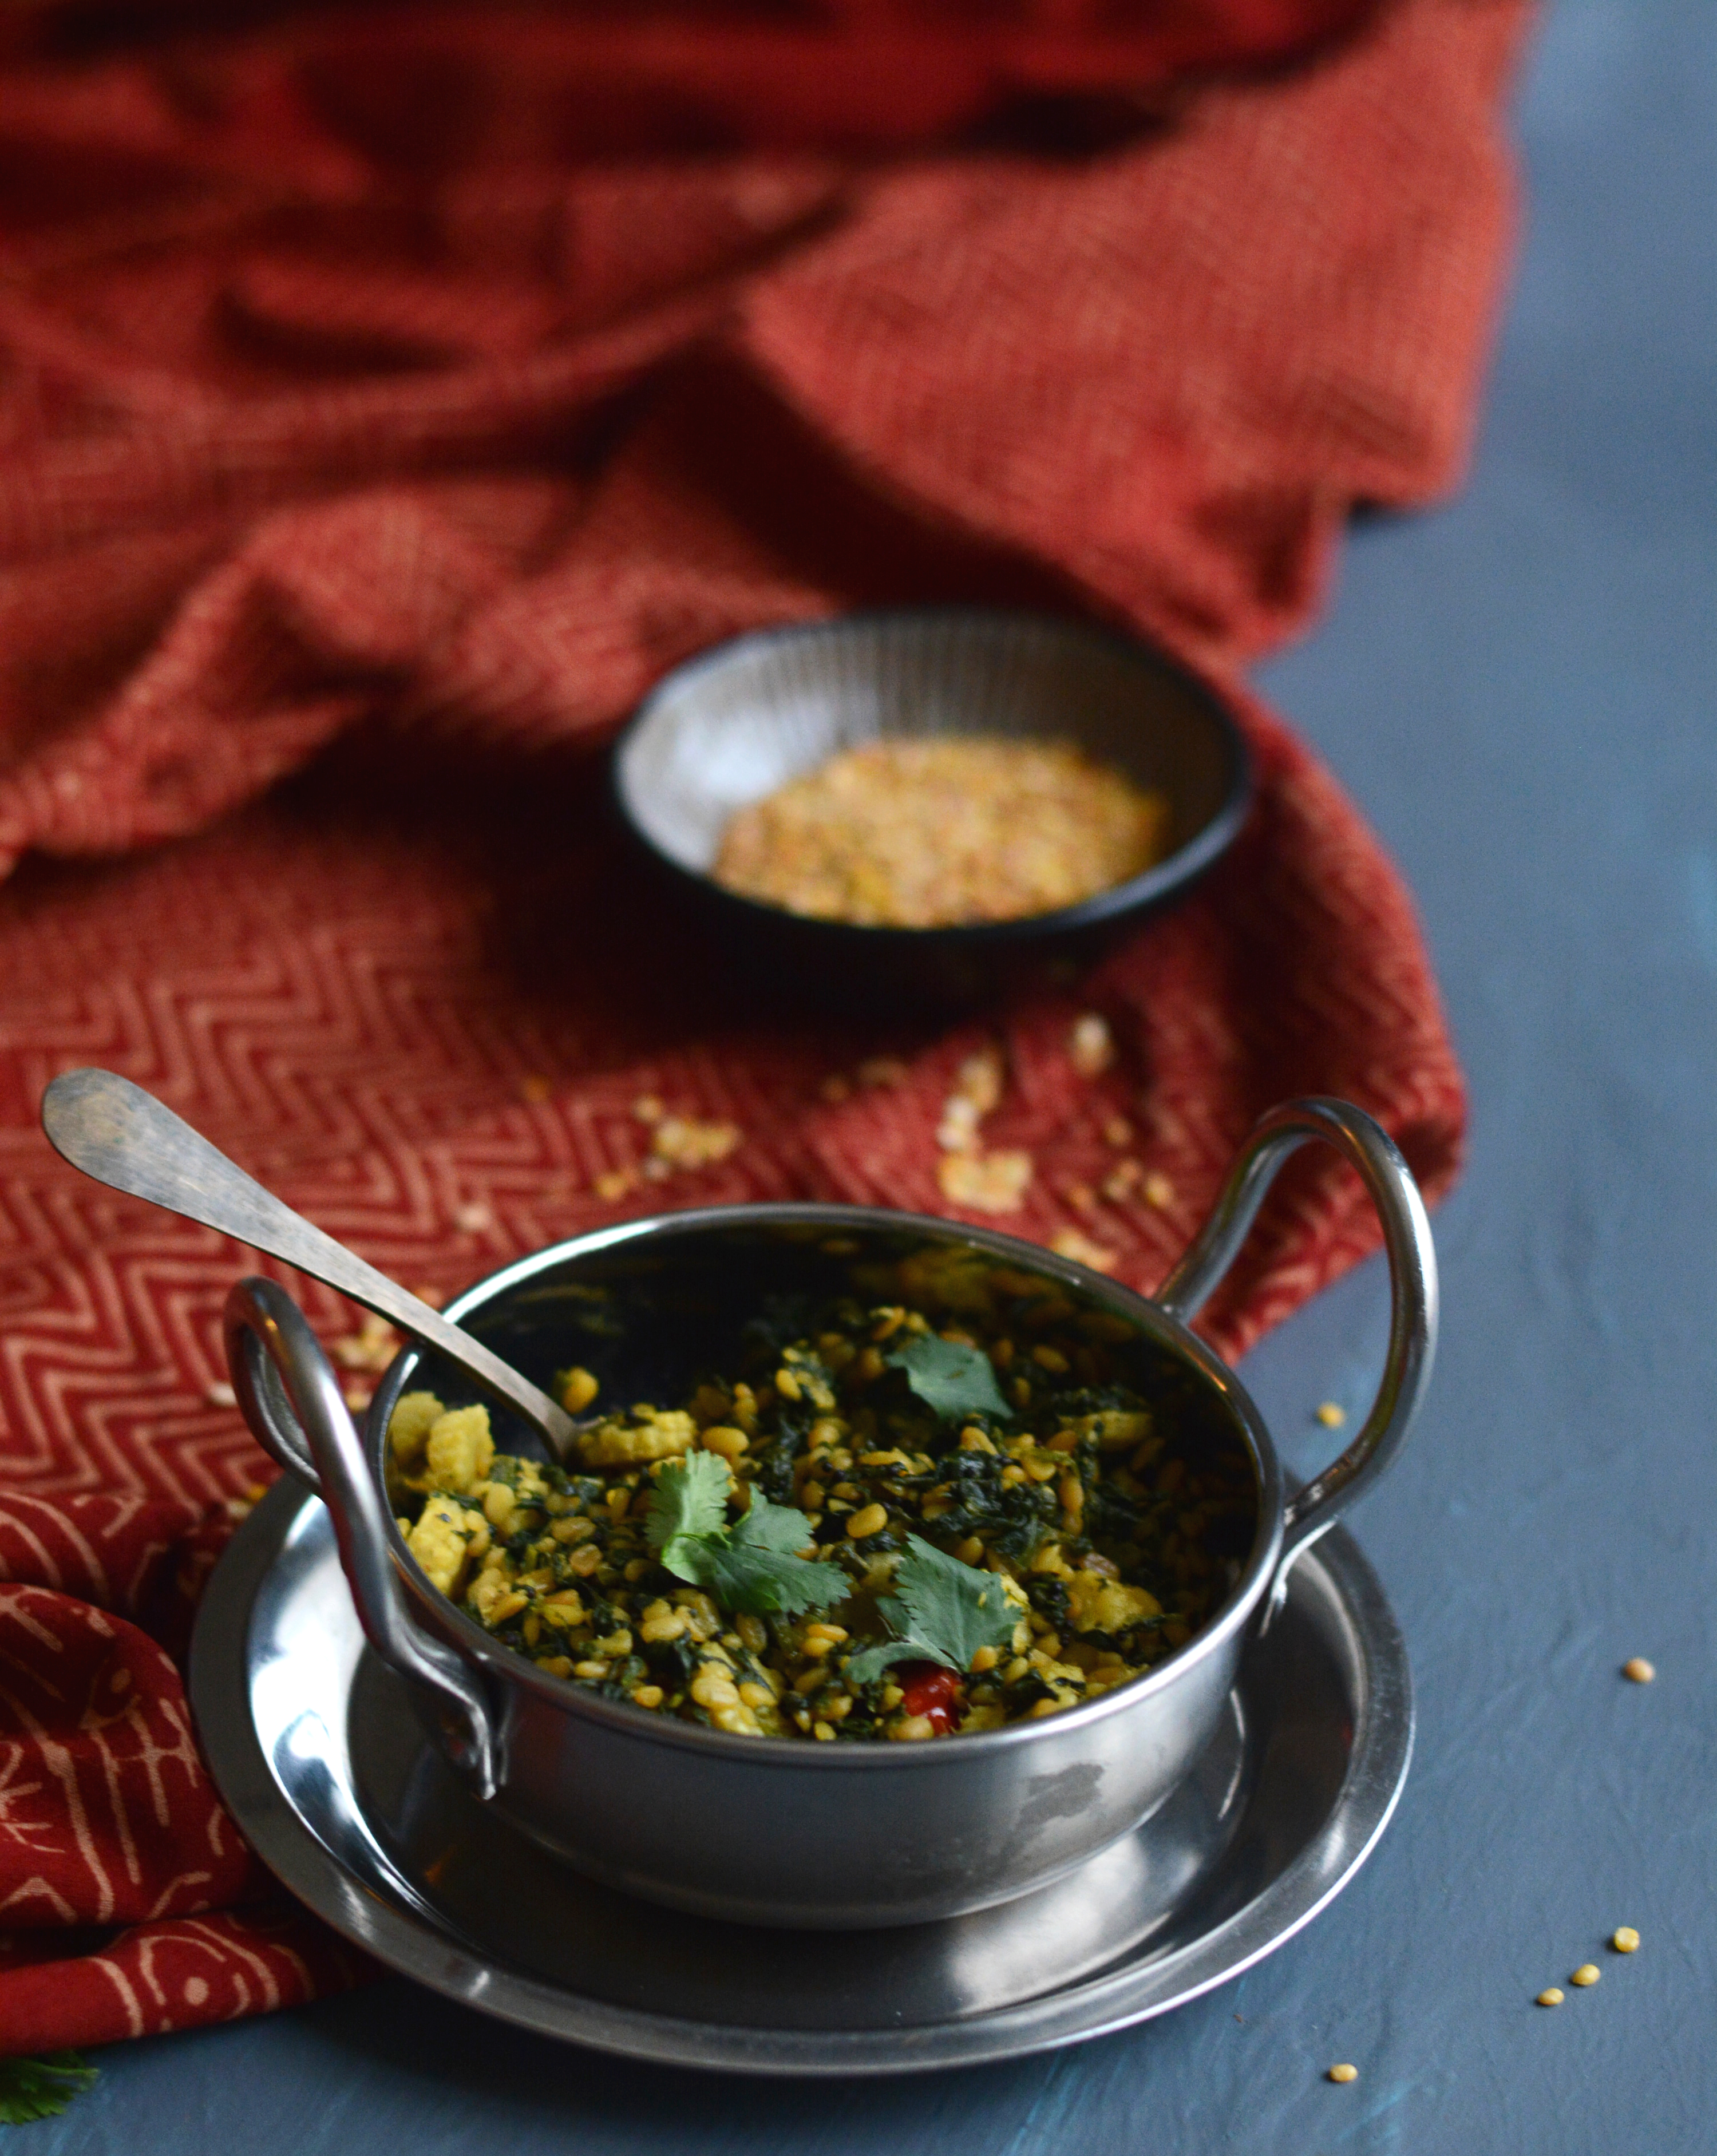
For now, we have a Kale and Cranberry Toss, a simple green side dish whose recipe I halved and slightly modified according the ingredients I had on hand. What you end up with is orange scented, slightly softened kale dotted with tangy cranberries and the crunch of pepitas. Kale is insanely good for you, and for those of you who haven’t quite been able to embrace it yet, this is a good way to start. Also, I’m sure this one at least partially erases the over-indulgences of festivals gone by.
Just in time for the excesses of Christmas.
*Through the Seasons was a gift from ABC Books and Harper Collins. As always, words and opinions are my own.
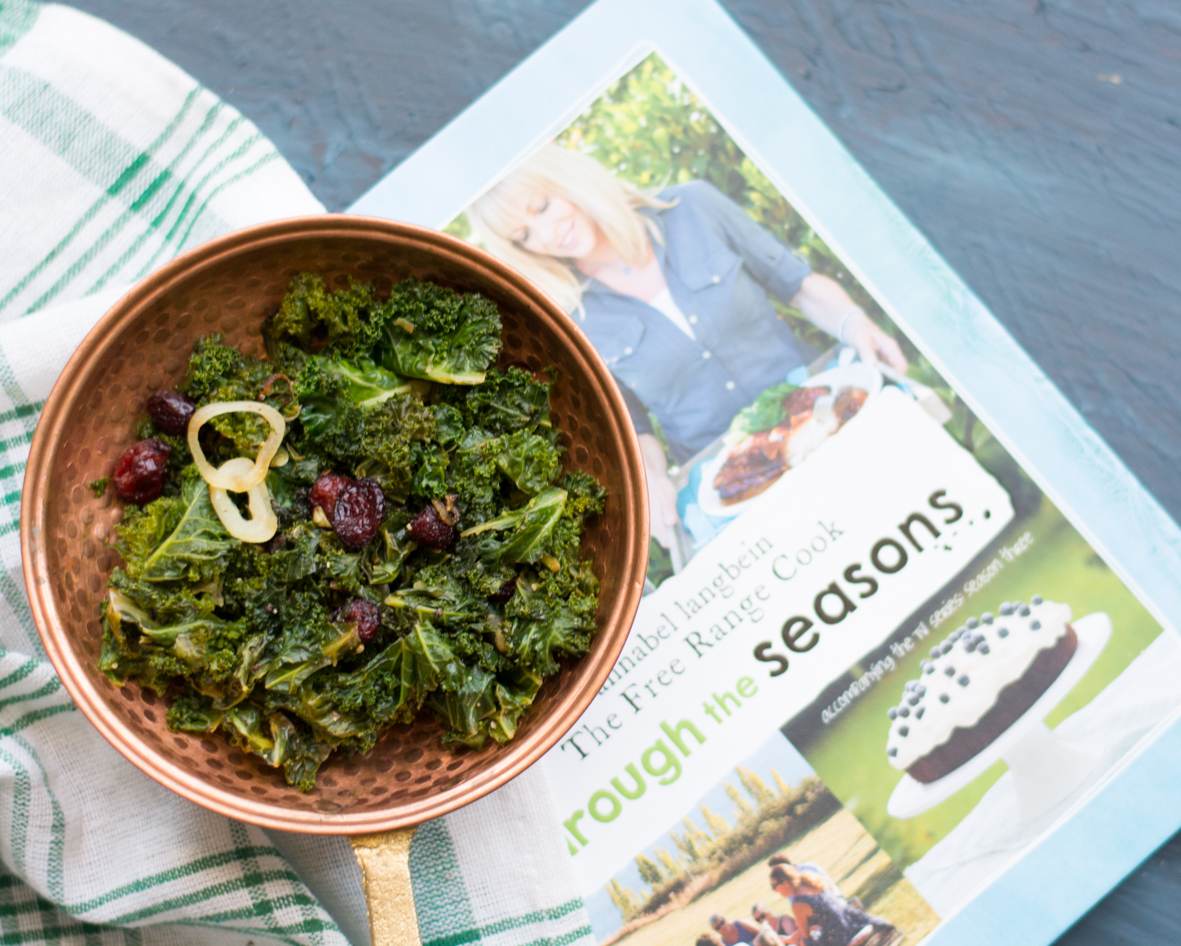
Kale and Cranberry Toss
Serves 3-4 as a side dish
Slightly modified from Through the Seasons by Annabel Langbein
Get:
1 tbsp extra virgin olive oil
1 large shallot or small eschalot, thinly sliced.
1 small clove garlic, finely sliced
12-16 kale leaves
Finely grated zest of 1/3-1/2 and orange
2 tbsp water
2 tbsp orange juice
1/2 tbsp white wine vinegar
2 heaped tbsp dried cranberries
2 tbsp pepitas, toasted
Salt and freshly ground pepper, to taste
Make:
Heat oil in a large frypan or pot and cook shallots or eschalots and garlic until soft, about 2 mins. Tear kale leaves off stems and roughly chop. Add the chopped leaves to the pan with orange zest and water. Cook on medium heat, tossing, for 2-3 minutes. Add orange juice, vinegar and cranberries and cook covered for 1-2 minutes until kale is slightly softened and cranberries are plumped. Uncover and cook for another minute or so until all the liquid has evaporated. Turn off the heat and toss through a generous pinch of salt and freshly ground pepper. Taste and add a little more seasoning if needed. Serve with toasted pepitas sprinkled over the top.