When I was asked by the Australian Jewish Newspaper to contribute a recipe appropriate for the upcoming Jewish festival Rosh Hashanah, I got to thinking about food with respect to religion. Food is so complexly linked to our culture which in turn influences the way we choose to celebrate important religious festivals.
From the universally known bread and wine of Christianity to the more complex dishes I was raised with that are linked to the multitude of Hindu festivals, I am fascinated by the basis for why certain foods are considered auspicious.
This is a month that is heavily concentrated with important Hindu festivals. Krishna Janmasthami, or Gokulashtami is next. Traditionally, many sweet and savoury snacks are prepared as an offering to the cheeky Lord Krishna, known for his mischievous thieving of home-churned butter as a child. It is easy to see why this festival was a childhood favourite of mine, and it wasn’t just because I was always quite fond of Lord Krishna.
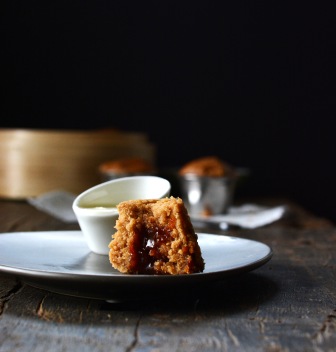
Barely have our waistlines recovered from the excessive consumption during Gokulashtami before Ganesh Chathurthi arrives, a celebration of the elephant headed God. Little steamed or deep fried pastry parcels with a coconut and jaggery filling are a traditional staple. There are many stories associated with the auspiciousness of this dish, variations of which are called the modakam or kadabu. The simplest explanation is that the sweets were a favourite of Lord Ganesha and he is often depicted with a plate of the delicacies at his feet.

What especially strikes a chord with me is the significance of bevu bella, a mixture of bitter neem leaves and caramel-sweet jaggery. A spoonful of bittersweet that is distributed during Ugadi, the Kannada New year. It is a reminder that life brings with it both happiness and sorrow and one must begin each year prepared to handle both with equal grace.
Rosh Hashanah falls in September and is the Jewish New year. It is believed to be the anniversary of the creation of Adam and Eve, and a ‘day of judgement’ for those that follow Judaism. Foods such as apples, honey and dates are offered and eaten to symbolise a sweet new year. Pomegranates are another auspicious food with their many seeds representing a fruitful year ahead.

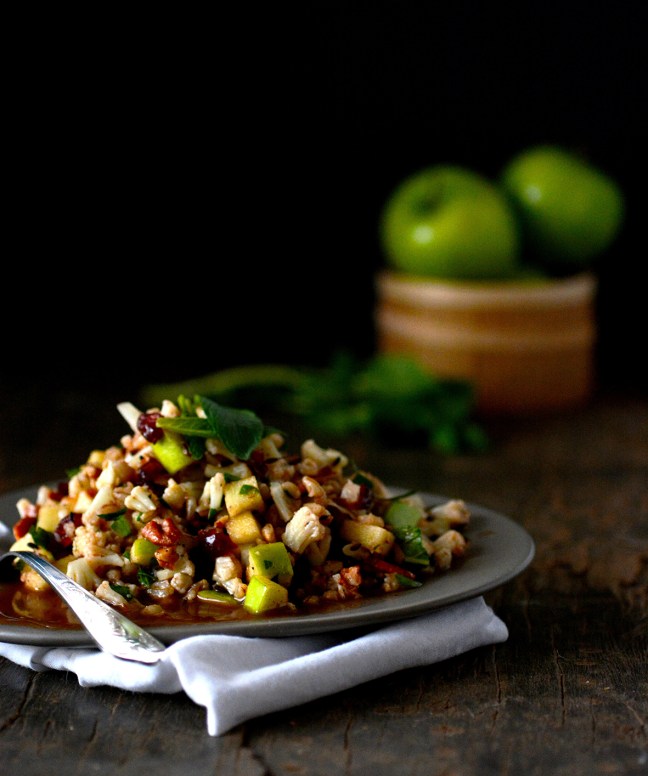
I put together a salad that was inspired by one I had at a trendy Sydney cafe, Kepos Street Kitchen. There, hubs and I hipster-watched as we devoured a large bowl of an incredible cauliflower and pomegranate salad. I couldn’t source any pomegranate for this recipe so I’ve used apple but pomegranate would also work well.
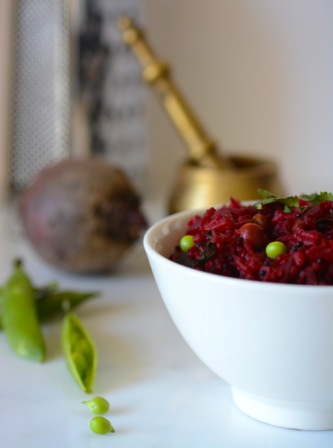
This is a salad that combines the bite of cauliflower with the tartness of green apples and cranberries. The dressing is tamarind based, sweetened with honey and perfectly balanced with the warmth of cumin and paprika. It is a dressing that will collect at the bottom of the bowl but this is far from a problem because you will find yourself sipping spoonfuls of it long after the solid ingredients are gone. Crunchy toasted pecans, tossed in right before serving lend a final textural surprise.
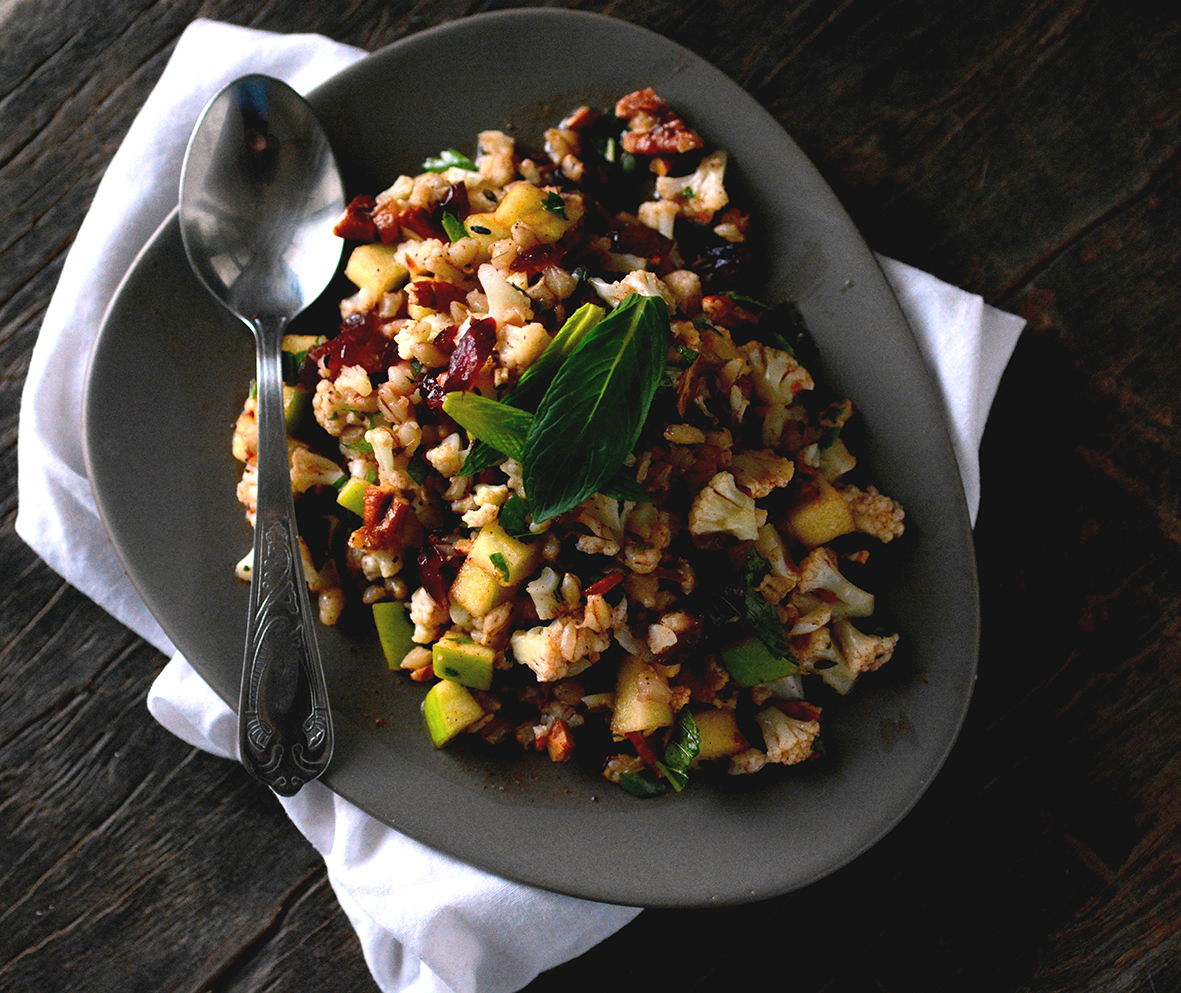
Cauliflower and Apple Salad
Serves 2-3 as a side dish
Get:
For the dressing:
Small ball of dried tamarind (ping-pong ball sized)
1/2 cup boiling water
1 1/2 tsp cumin seeds
1/2 tsp paprika
1/4 tsp salt
1 tsp honey
1/2 tsp lemon juice
1/2 tsp olive oil
For the salad:
1/4 cup pearl barley
1/4 tsp salt
1 1/2 cups boiling water
1/2 cup pecans
1 1/2 cups cauliflower in tiny florets
1/2 a green apple diced or 1/3 cup pomegranate seeds
1/2 cup dried cranberries, roughly chopped
1 tbsp mint leaves, finely chopped
2 tbsp parsley (flat or curly), finely chopped
Make
Preheat the oven to 160 C. When heated, place the pecans in the oven on a tray for 8-10 mins or until toasted. Allow to cool and chop roughly. You will not be needing the oven after this.
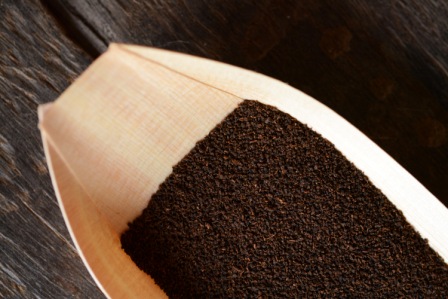
Soak the tamarind in 1/2 cup boiling water for about 10 minutes. Mash the tamarind in the water with a fork and drain, reserving the water. You can discard the tamarind pulp.
Place the pearl barley, 1 1/2 cups boiling water and 1/4 tsp salt in a saucepan or pot. Bring to the boil and simmer for 30-40mins until the barley is cooked but still a little chewy. Drain and set aside.
In a small non-stick pan, toast the cumin until a little browned and fragrant. You could probably also do this in the oven. Using a mortar and pestle or spice grinder, grind 1/2 tsp of the toasted cumin to a powder.
Chop the stems off the cauliflower just at the base of the florets and divide into tiny florets. Wash well. Blanch in boiling water (enough to completely cover the cauliflower) for 5 minutes. Drain and set aside.
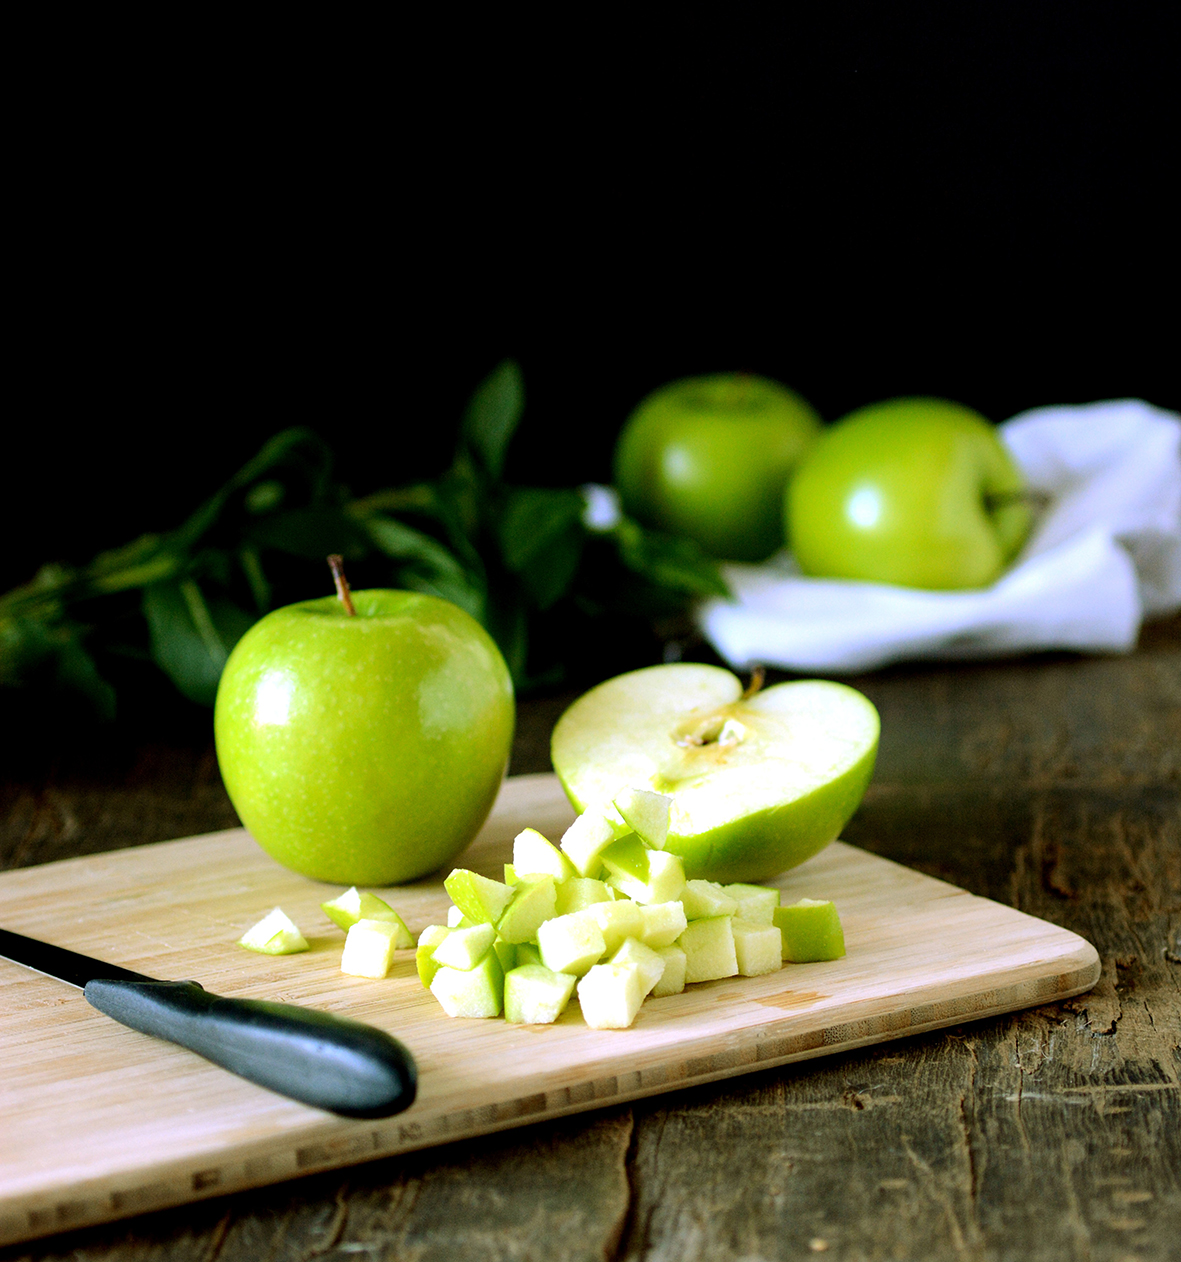
Dice 1/2 a green apple into roughly 8-10 mm pieces.
To make the dressing, combine tamarind water and the rest of the dressing ingredients except for the whole cumin seeds in a large bowl. Whisk to combine well. Taste and add more salt or lemon juice if desired.
To the bowl add cauliflower, apple, barley, whole toasted cumin and herbs. Toss well to coat in the dressing. Just before serving, toss through the pecans.
Notes:
Dried tamarind is available at all Indian grocers. You could also use tamarind paste- dissolve about 1/2 tsp in 1/2 cup boiling water.
Pomegranate seeds would also work really well in this salad either instead of or in addition to the apple.
Walnuts would also work well instead of pecans.
Want more salad? Try:
Quinoa Salad
Zucchini, Carrot and Fennel Salad
Warm Lentil Salad with Goats Cheese and Walnuts