There was once a friendly watermelon called Gilbert. When Gilbert was a young boy-melon, he found himself on a shelf in a fruit shop surrounded by equally juicy watermelons.
Gilbert longed to leave the fruit shop and find a loving home. Being a rather amicable melon, Gilbert one day struck up a conversation with one of the fruit shop’s customers, a veterinarian and a watermelon enthusiast.

Gilbert was overjoyed and looked forward to his destiny of being sliced and devoured on a hot summers day. He found his place on the dining table and awaited his opportunity to show off his refreshing, lush qualities.
But alas, the veterinarian became far too lazy busy to undertake the onerous task of watermelon dissection and Gilbert was left neglected and wondering whether he would ever be given a chance to fulfill his fate.
For days Gilbert sat dejected on the table that no-one used, emitting dramatic sighs that no-one seemed to hear. He watched his keeper rush to work in the morning in her surgical scrubs. He waited all day for her, sure that she would be missing him too.
He saw her return every evening with a spark of hope that perhaps today would be the day, only to be disappointed. And so he waited, his crisp red flesh aching with longing to be devoured although his tough green armour gave nothing away.
He observed her as she cooked and ate her meals without a glance towards where he sat. He watched TV with her, patiently.
(It must be said that while he rather enjoyed ‘How I met your mother’, he found ‘My Kitchen Rules’ really quite offensive- although really, haven’t we all at times?)
He waited and waited until one day the veterinarian who usually walked past him unseeing, stopped and finally looked straight at him!
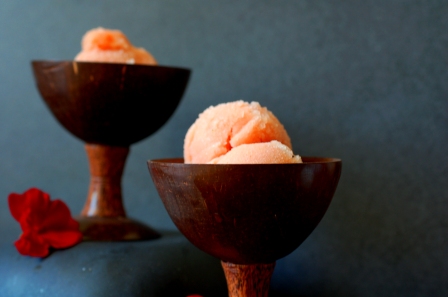
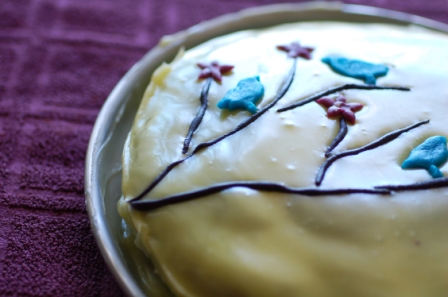
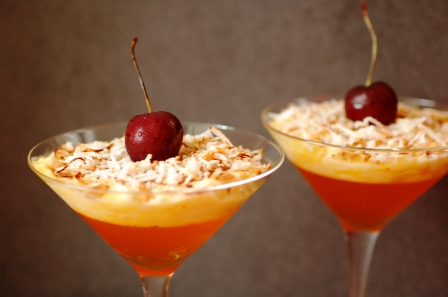
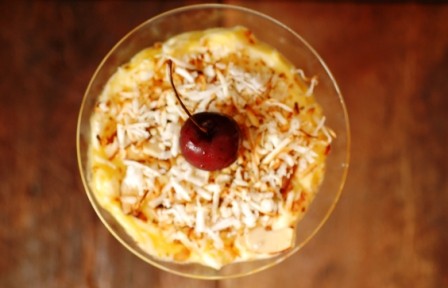
And before he knew it, Gilbert was in quarters. A quarter was cubed and devoured fresh, another quarter was turned into sorbet and the rest was juiced. Most importantly, all of him was thoroughly enjoyed and Gilbert finally, finally, met his destiny……….
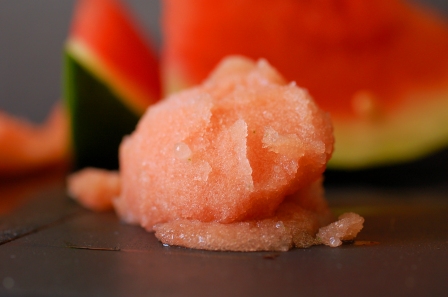
Watermelon, Mint and Ginger Sorbet
Modified from Australian Good Taste Magazine, Jan 2006, via taste.com.au
Get:
2 cups water
3/4 cup caster sugar
1 inch piece fresh ginger, finely grated
Small handful mint leaves, finely chopped
1kg Gilbert or other watermelon flesh roughly chopped
1 egg white
Make:
Place water, sugar, ginger and mint in a saucepan and stir over low heat for a few mins until the sugar dissolves. Increase heat and bring to t boil, boiling for 5-10 mins until the mixture thickens to a thin syrupy consistency.
Blend watermelon in a blender or food processor until pureed. Strain the puree through a fine sieve into an airtight container suitable for freezing. Discard the pulp or use in smoothies. Alternatively you can use a juicer to extract the juice. You should have around 600ml of juice.
Add sugar syrup to the watermelon juice and stir to mix. Place the lid on the container and place it in the freezer for at least 5-6 hours.
Using a fork to break up the sorbet, transfer it to a food processor or blender and whizz until the sorbet has a 7-11 slushie texture. Return the sorbet to the container and place it back in the freezer for a further 5-6 hours. Blend again to a slushie consistency and return to the freezer for another 5-6 hours. Place the sorbet in the blender with an egg white and whizz again until it is a soft, smooth consistency. Place back in the freezer and freeze for another 5-6 hours.
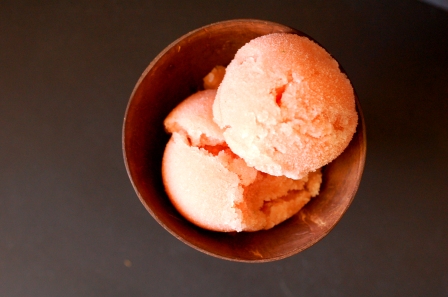
Scoop into bowls and enjoy.
Notes:
The original recipe called for 2 egg whites but I choose to just add one as I was worried about it being too slimy. I was happy with the texture I ended up with.
The original recipe called for a cup of sugar but I reduced it to 3/4 in the interest of health. After tasting it, I felt I could have actually decreased it further, to 1/2 cup. If you like a sweeter sorbet, stick to 3/4 cup or even use a whole cup of sugar.
This recipe is really not as time consuming as it seems, however you should start making it 36-48 hours before you need to serve it. I made it one evening, left it in the freezer overnight, then blended it up the next morning, again the next evening and did the final blend with the egg white the following morning.